Have you ever finished painting a wall, stepped back, and noticed those uneven streaks or jagged lines that just won’t blend in? You’re not alone. Paint roller marks are one of the most common slip-ups homeowners run into when painting interior walls. These marks usually show up after everything looks done, which makes them even more frustrating. Whether you’re trying to freshen up one room or touch up an entire house, nothing’s worse than putting in all that work and ending up with a wall that still looks off.
As Ottawa heads into the cooler months this November, many homeowners take on indoor projects while staying warm inside. If you’ve spotted roller marks after a fresh coat, don’t worry. There are a few reasons this happens, and the good news is it can be fixed and avoided next time. Let’s look at what causes these annoying streaks and how to get your walls looking smoother than a cup of fresh paint.
Understanding The Causes Of Roller Marks
Roller marks are often the result of rushing the job or using the wrong tools. It might seem like rolling paint onto a wall is pretty straightforward, but a lot can go wrong if you’re not careful. The most common mistakes show up in the finish, and once the paint dries, those errors become all too clear.
Here are a few reasons roller marks usually happen:
– The roller is too dry or overloaded with paint
– The paint is too thick or drying too fast
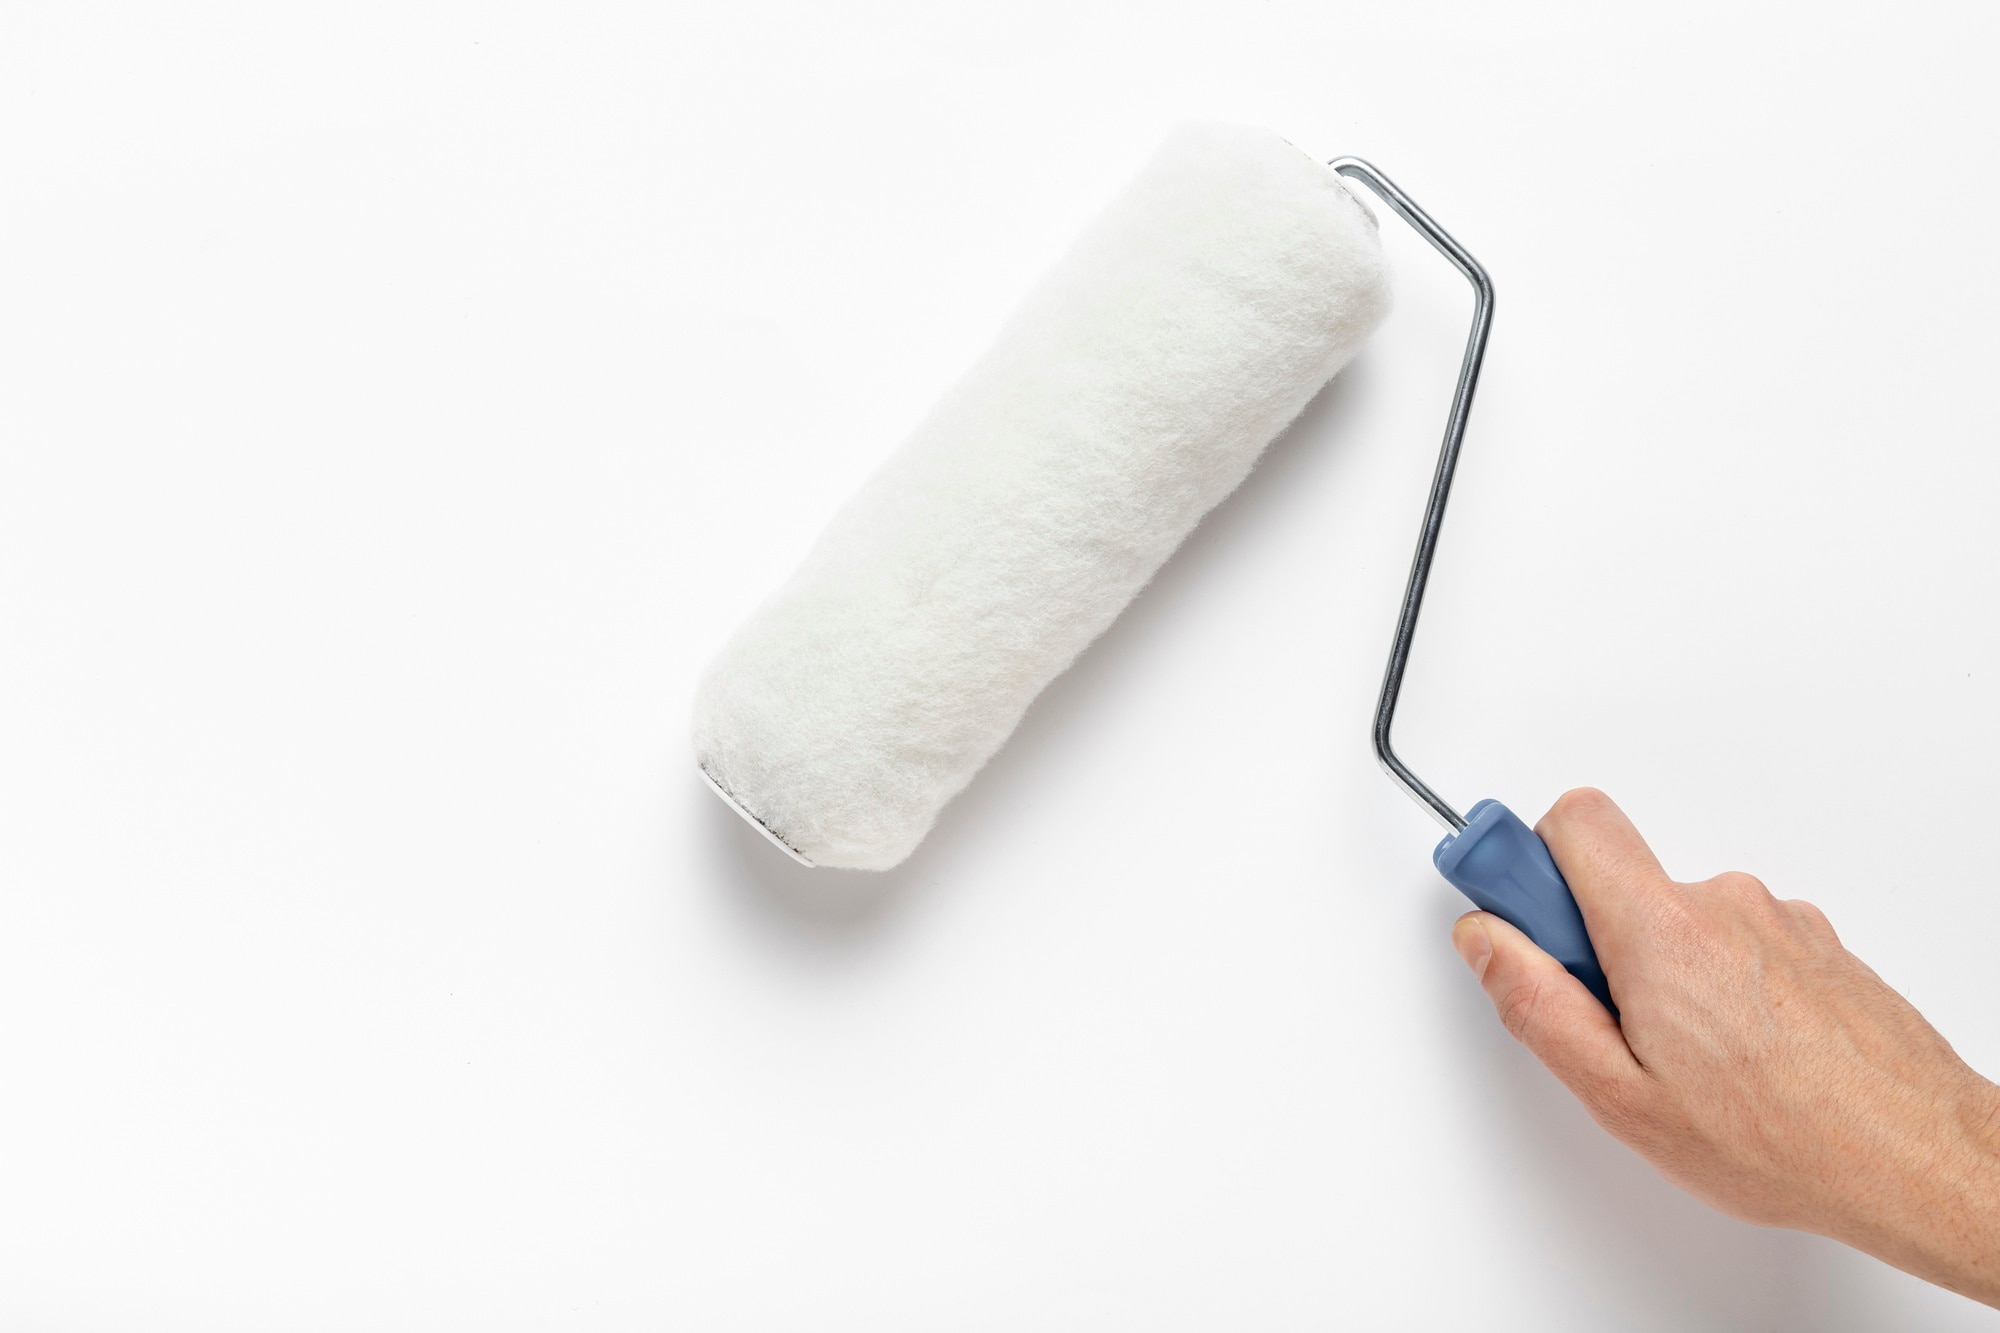
– The roller is poor quality or the wrong nap length for the surface
– Too much pressure is applied while rolling
– Not blending sections properly or letting paint dry before rolling the next spot
Environmental factors also play a part, especially in a city like Ottawa where the seasons vary a lot. Rolling paint during a very dry or very humid day can mess with how it settles and give more time for marks to show up. If the room is too warm, the paint might start drying before you can blend the edges. If it’s cold, it could become too sticky or slow to cure.
Cheap rollers tend to shed lint or leave uneven textures behind, which show up as streaks. Using the wrong roller, for example one meant for smooth surfaces on a textured wall, won’t give proper coverage and might drag paint in strange directions.
Paying attention to these root causes is the first step to correcting the problem. Once you know what’s behind those lines, fixing them becomes less of a mystery.
Effective Painting Techniques
Now that we’ve looked at why roller marks appear, let’s talk about how to keep them from happening in the first place. A good paint job doesn’t start with the paint, it starts with prep, tools, and technique.
Proper surface preparation is where it begins. Always clean your walls beforehand, removing dust, dirt, or grease. Even smudges from fingers can stop paint from sticking the way it should. If there are rough spots or older roller marks, give them a quick sanding and wipe down the walls with a damp cloth.
The tools you use matter just as much. That includes:
– High-quality roller covers with the right nap based on your wall type (short for smooth walls, medium for light texture)
– A sturdy, clean roller frame that doesn’t wobble
– A paint tray with a ridged surface to load the roller evenly
– Good paint that suits the room’s function and lighting
Roller loading makes a huge difference. Dip the roller about a third of the way into the paint, then roll it along the tray several times to absorb paint evenly without dripping. Don’t dunk the whole roller or it’ll soak up more paint than you need.
The actual rolling process is just as important. Use this basic approach:
1. Start by rolling in a large W shape on the wall, filling it in without lifting the roller
2. Work in small sections, usually about one square metre at a time
3. Maintain a wet edge so the new stroke blends into the last
4. Avoid heavy pressure, let the roller do the work
5. Go back over the section lightly with the roller (without adding more paint) to even it out
Avoid overworking the paint. If it’s drying already and you go back over it, you’ll end up with blade-like streaks that catch the light and draw attention. Stick with even layers, and don’t rush the process. Patience and practice save a lot of headache later.
Proper prep and technique won’t just cut down on roller marks, they’ll leave you with a smoother, cleaner-looking finish that feels professional.
Fixing Existing Roller Marks
Even with the best intentions, roller marks can still make an appearance. The good news is that most can be fixed without starting the whole job over. The first step is figuring out how noticeable the marks are. If they’re minor and just visible in certain lighting, you might get away with light sanding and a touch-up. If the streaks are deeper or cover a wide area, a full repaint of that section might be needed.
For smaller, shallow marks, use a fine-grit sanding sponge to smooth out the area lightly. Wipe it down with a damp cloth so nothing disrupts the new coat of paint. From there, you can either reapply a light coat with a properly loaded roller or feather it in with a brush if only a small section needs work. Make sure you’re blending into wet paint if you tackle a larger area.
If the roller marks are thick, dragged, or rough to the touch, patching things up might not cut it. You’ll need to sand the entire section until the wall feels even. Then reapply paint using proper technique. It’s smart to repaint corner to corner if the paint job has aged a bit or the colour match isn’t exact, since fresh paint often dries slightly different in tone.
Here’s a step-by-step approach for dealing with more obvious marks:
1. Lightly sand the affected area until the wall feels smooth
2. Wipe the surface down to remove dust and debris
3. Apply a small amount of primer if the patch is large or down to bare wall
4. Use a clean roller and apply paint with the right pressure and direction
5. Blend with surrounding paint for a seamless look
Don’t try to go over dry edges. That usually leads to worse results than just leaving them alone. Choose your moment wisely. Paint when you have time, enough light, and steady indoor temperatures.
Preventing Roller Marks in Future Projects
Avoiding this issue in future projects is all about keeping your technique consistent and being mindful of timing. One of the most overlooked tips is keeping a wet edge. That simply means painting new sections while the previous ones are still damp, so they blend smoothly without lines forming between them. Stop-and-go painting is a quick way to end up with patchy results.
Another factor is pressure. Rolling too hard forces too much paint out at once, leaving uneven stripes. Think of it like using a sponge. You want it to glide over the surface, not press into it. Keep your strokes steady, overlap them slightly, and always roll in the same direction until that section’s done.
A few other things that can help:
– Use primer on new walls or spot-repaired areas before painting for better coverage and uniform drying
– Stir the paint fully before use, and every so often during the job
– Don’t overload or underload the roller. You want it saturated evenly, not dripping
– Work in manageable sections and plan an escape route so you’re not backed into a corner
– Thin thick paint slightly with water or paint conditioner if drying too fast
Let’s say you’re painting in an older semi in downtown Ottawa. Those plaster walls often hold heat differently than drywall. Add in heating vents or fluctuating temps from opening doors, and the paint might start to cure mid-roll. Thinning the paint slightly can help keep that wet edge and reduce the chances of lap lines or drag marks when you’re doing larger rooms.
Fixing past mistakes is one thing, but avoiding them in the first place saves time, stress, and money. And if you’re juggling more than a wall or two, sometimes bringing in skilled hands is the quickest path to a good finish.
Keep Your Walls Looking Smooth
A good paint job can completely change how a room feels, but roller marks can take the shine off your effort fast. The key is knowing what causes these marks, how to work with the tools properly, and what to do if things go sideways. From surface prep and choosing the right roller to applying paint with control, every step plays a part in getting that smooth, even wall finish.
While small marks can often be fixed with a touch-up, bigger issues may call for sanding and repainting the wall altogether. If you’ve had a rough experience with touch-ups before, don’t feel discouraged. These things happen often, especially with changing humidity and temperatures like we have here in Ottawa. What matters is learning from those jobs and applying better techniques next time.
With the right approach, you’ll spend less time correcting mistakes and more time enjoying freshly painted rooms that look clean and polished for years to come.
Transform your home’s look effortlessly by opting for professional help. For those seeking top-notch results with minimal stress, consider the benefits of residential painting in Ottawa. Picasso Paints is ready to help tackle your painting projects, ensuring your walls boast a smooth, seamless finish that enhances your living space.