Painting the inside of your home might seem like a simple enough task — pick a colour, grab a brush, and start freshening things up. But anyone who’s actually done it will tell you, residential interior painting comes with its fair share of hiccups. From the moment furniture is moved out of the way and drop cloths are laid down, unexpected problems can start to show up. If you live in Ottawa, where older homes are common and temperatures swing between extremes, these surprises can catch you off guard if you’re not ready.
Peeling paint, mystery stains, cold spots on walls, or even patchy surfaces can turn a quick paint job into a longer project. So the key is knowing what to look for and what steps will help prevent small issues from getting worse. Getting ahead of these challenges doesn’t just make the process smoother — it helps the final result look better and last longer.
Unexpected Wall And Surface Issues
Walls don’t always play fair. What seems like a solid, ready-to-paint surface could be hiding all kinds of problems underneath the paint or primer. Whether it’s a hairline crack, an old patch that wasn’t sanded properly, or random nail pops, these flaws become much more noticeable once fresh paint goes over top. And worse, they can ruin the final look.
Here are a few things you should watch for during prep:
1. Cracks and holes: These show up from settling over time. Some might be small and easy to fill, while larger ones could need mesh tape and compound.
2. Uneven texture: Maybe the wall had past repairs, or moisture caused sections to bubble or peel. These need to be sanded smooth before painting.
3. Flaking paint: In older homes around Ottawa, you’ll often find sections with layers of old paint. These areas should be scraped and feathered out before priming.
4. Poor drywall finishing: Some older renovations may have left behind lumpy joints or visible seams. These should be re-sanded and touched up.
It’s tempting to just paint over everything and hope for the best, but surface flaws almost always show through. Putting in time to fill, sand, and spot prime can feel slow, but it makes a huge difference once that final coat goes up.
Dealing With Stains And Odours
Stains and odours can sneak up on you when painting inside your home. A wall might look fine from a distance, but smells or discolouration can come through fresh paint if they’re not dealt with first. These problems are especially common in kitchens and basements, or in homes that have had pets or previous water damage.
Common sources include:
1. Grease from cooking, often found near stoves and overhead cupboards
2. Smoke residue from candles, fireplaces, or past smoking indoors
3. Mildew or water stains from past leaks around windows or pipes
4. Pet odours embedded into drywall or trim
To handle these problems properly, don’t just rely on regular paint to mask what’s there. Use cleaning products rated for walls to scrub away residue. In kitchens, a mix of dish soap and warm water can help cut through grease. Let everything dry well before moving on. For smells and stains, an odour-blocking primer works better than regular primer. It stops the stain from coming through later and helps create a clean surface for your paint.
Even with the right prep, if the smell is strong or the stain goes deep, it may be a sign of something bigger, like mould or damaged drywall. That’s when it’s worth calling in a pro to take a look before any paint goes on the brush.
Managing Humidity And Temperature Fluctuations
Ottawa’s climate can throw some real curveballs when it comes to painting indoors. The city’s weather, with its hot summers and cold winters, can affect how paint dries and adheres to surfaces. High humidity makes paint dry slower, leading to drips, while low humidity can cause it to dry too fast, leading to cracking or peeling. Either extreme can challenge your plans to get a flawless finish.
To keep conditions in check, try these tips:
1. Use a dehumidifier when it’s too humid, especially in summer or during rainy spells. It helps to bring down humidity levels, so paint dries at a steady pace.
2. In winter, heating can dry out the air. A humidifier can help keep conditions balanced. Aim for about 40 to 50 percent humidity for optimal drying.
3. Maintain a stable room temperature, ideally between 10°C to 25°C. This supports even drying and adhesion.
4. Open windows for ventilation on milder days, but be cautious of incoming humidity or cold air.
By tweaking the environment a bit, it’s easier to avoid unexpected results on your freshly painted walls.
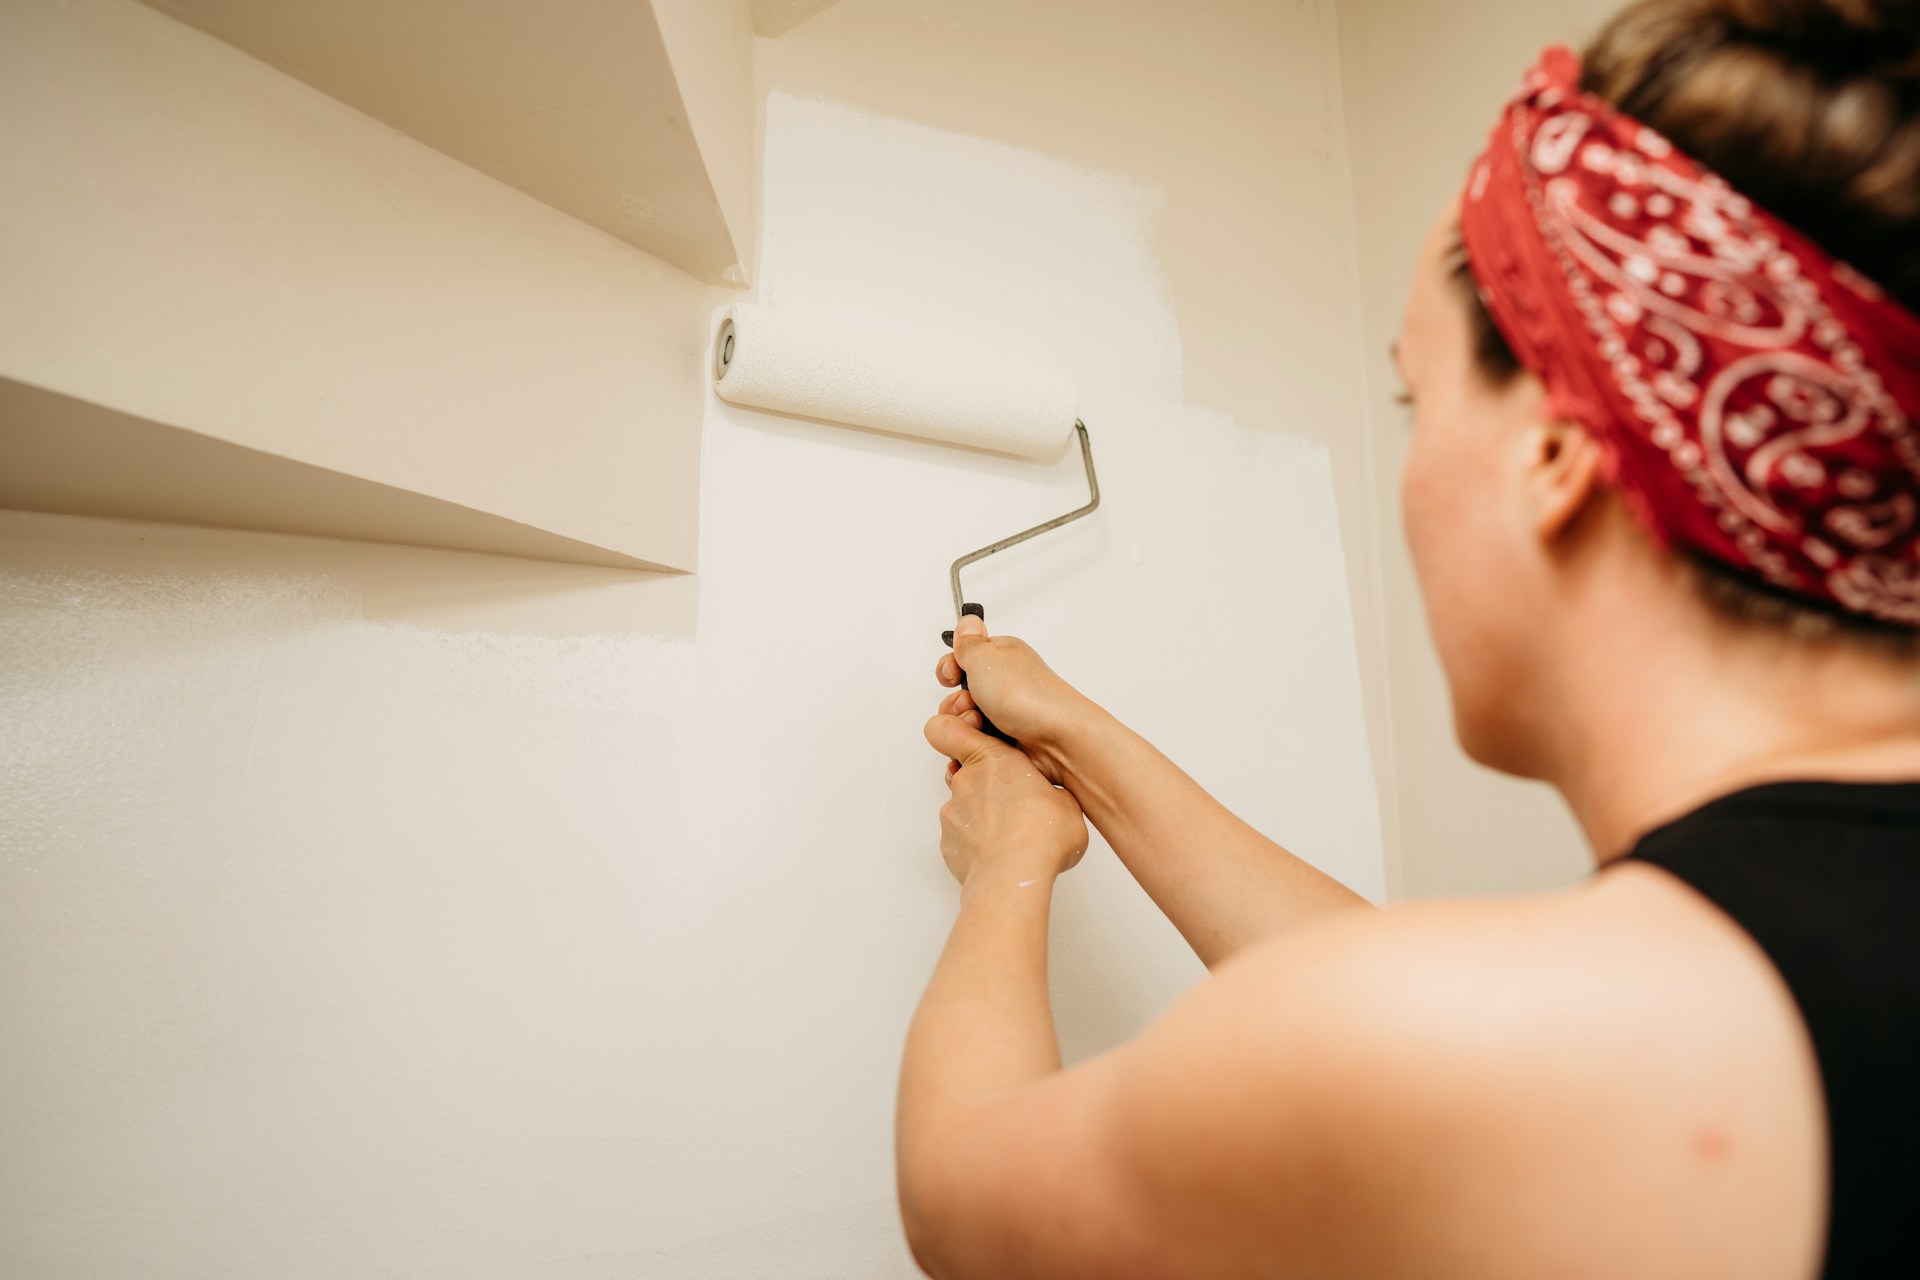
Choosing The Right Tools And Materials
Having the right tools and materials at the start means half the battle is already won. Investing in good quality brushes and rollers can make a noticeable difference in how your paint job looks. Spend a little more on items that will last through several projects, saving you time and frustration in the long run.
Here’s what you’ll need:
1. Brushes: A variety of sizes helps for cutting in around edges and getting into corners. Synthetic brushes work well with acrylic paints, while natural bristles are great for oil-based paints.
2. Rollers: Pick the right nap length based on the texture of your walls. Smooth surfaces need short naps, while rougher surfaces require longer naps.
3. Paint: Choose paints designed for the specific room and function. For high-moisture areas like bathrooms and kitchens, semigloss paints resist moisture better.
4. Painter’s tape: This keeps your edges clean and helps create neat lines where colours meet or where walls meet trim.
5. Drop cloths: Go with canvas if you can. They’re easier to work with, washable, and lay down better than plastic ones, which can be slippery.
Using the appropriate materials and tools not only speeds up the process but also adds to the quality of the finish.
What It Takes To Finish Strong
Staying ahead of painting challenges with a bit of prep and the right materials can make your painting projects much easier and the results more reliable. From smoothing out walls to choosing humidity-savvy paints, each step taken with care leads to a result you can be proud of.
When painting in Ottawa, it’s also worth keeping in mind how the city’s humidity and temperature changes can affect the job. By mixing preparation with some patience and local know-how, you can keep the surprises to a minimum. Even if an unexpected challenge pops up, you’ll be ready to keep things looking bright and beautiful.
If you’re looking for reliable advice and a flawless finish, let Picasso Paints handle your next home refresh with expert care. Explore how we can support your goals through our trusted services in residential painting in Ottawa.